笔记 => 博客
前提
下面使用 joplin 作为笔记工具,hexo 作为博客进行说明。但这两者都可以替换,例如笔记的来源可以替换为 obsidian,输出的博客则可以替换为 hugo。
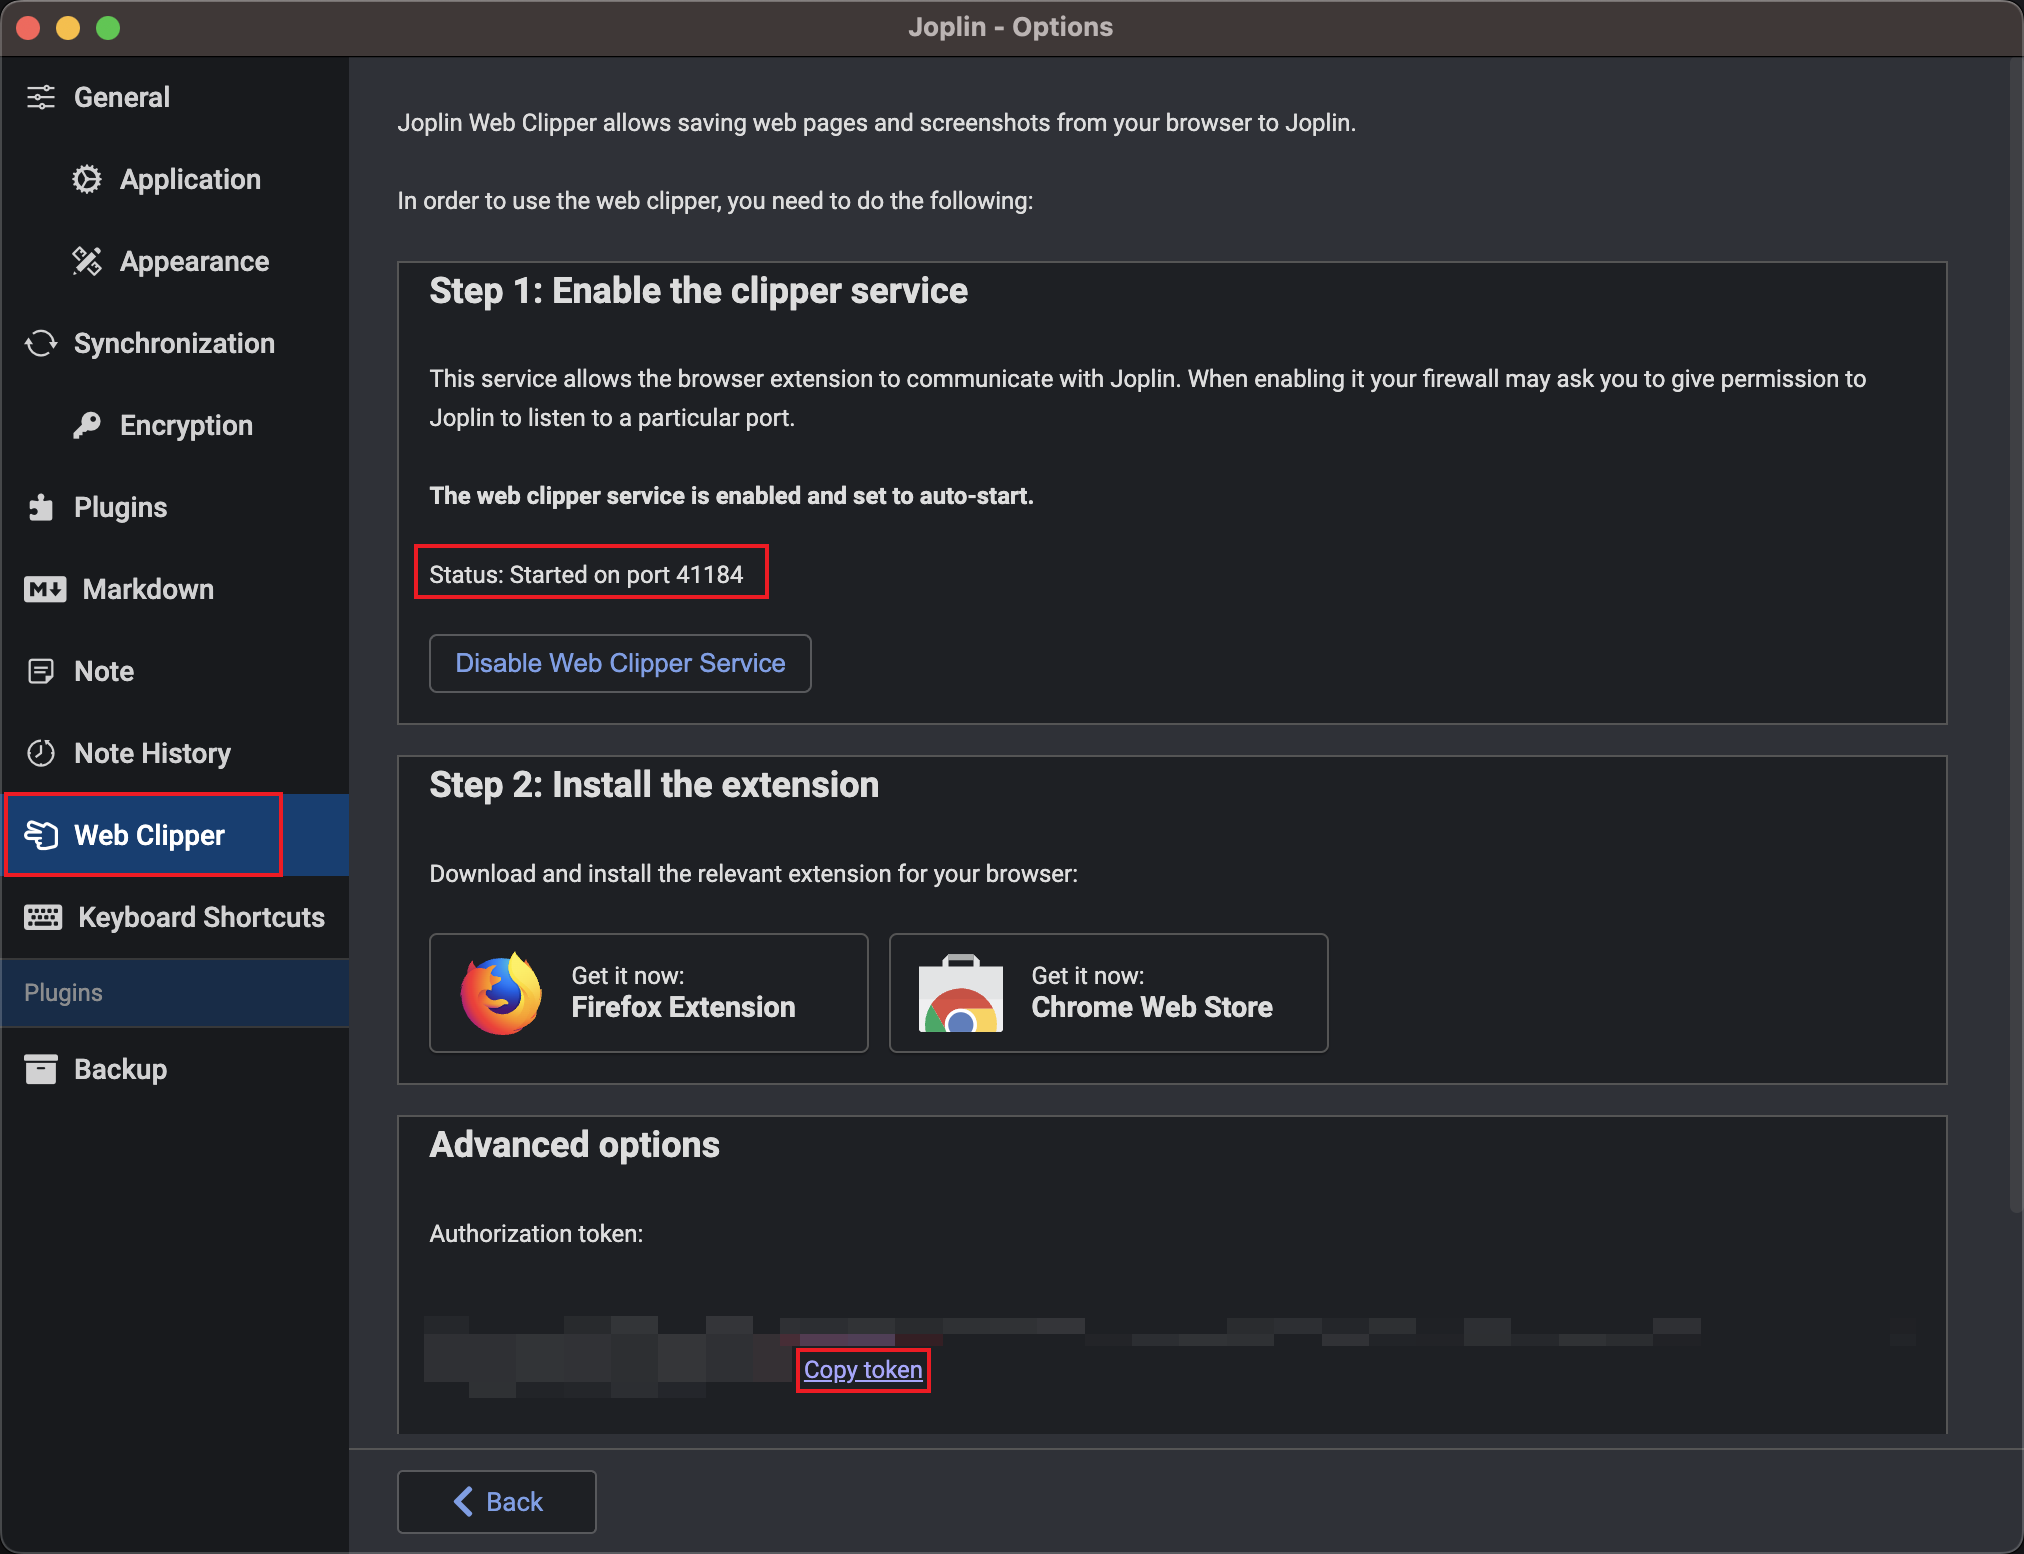
- 首先,确保 joplin 已经开启了 web clipper。
- 其次,需要一个 hexo 项目,如果已有,请参考 连接 joplin 到现有的 hexo 博客,否则继续下一步。
从零开始创建 hexo 博客
如果你还没有 hexo blog,那么可以直接使用模版创建来减少配置。
- 在 github 上使用模版项目 joplin-hexo-demo 创建一个新的项目,操作路径 Use this template > Create a new repository。如果还没有 github 账户,请 注册 一个。
- 使用 git 在命令行克隆你的项目到本地
git clone https://github.com/<username>/<repo>.git - 修改 mark-magic.config.yaml 配置文件中的
baseUrl和token为 joplin 设置中的值 - 在 joplin 中为你希望发布的笔记添加
blog标签 - 运行命令
npx mark-magic && npx hexo server,打开 http://localhost:4000/joplin-hexo-demo/ 可以看到你的笔记了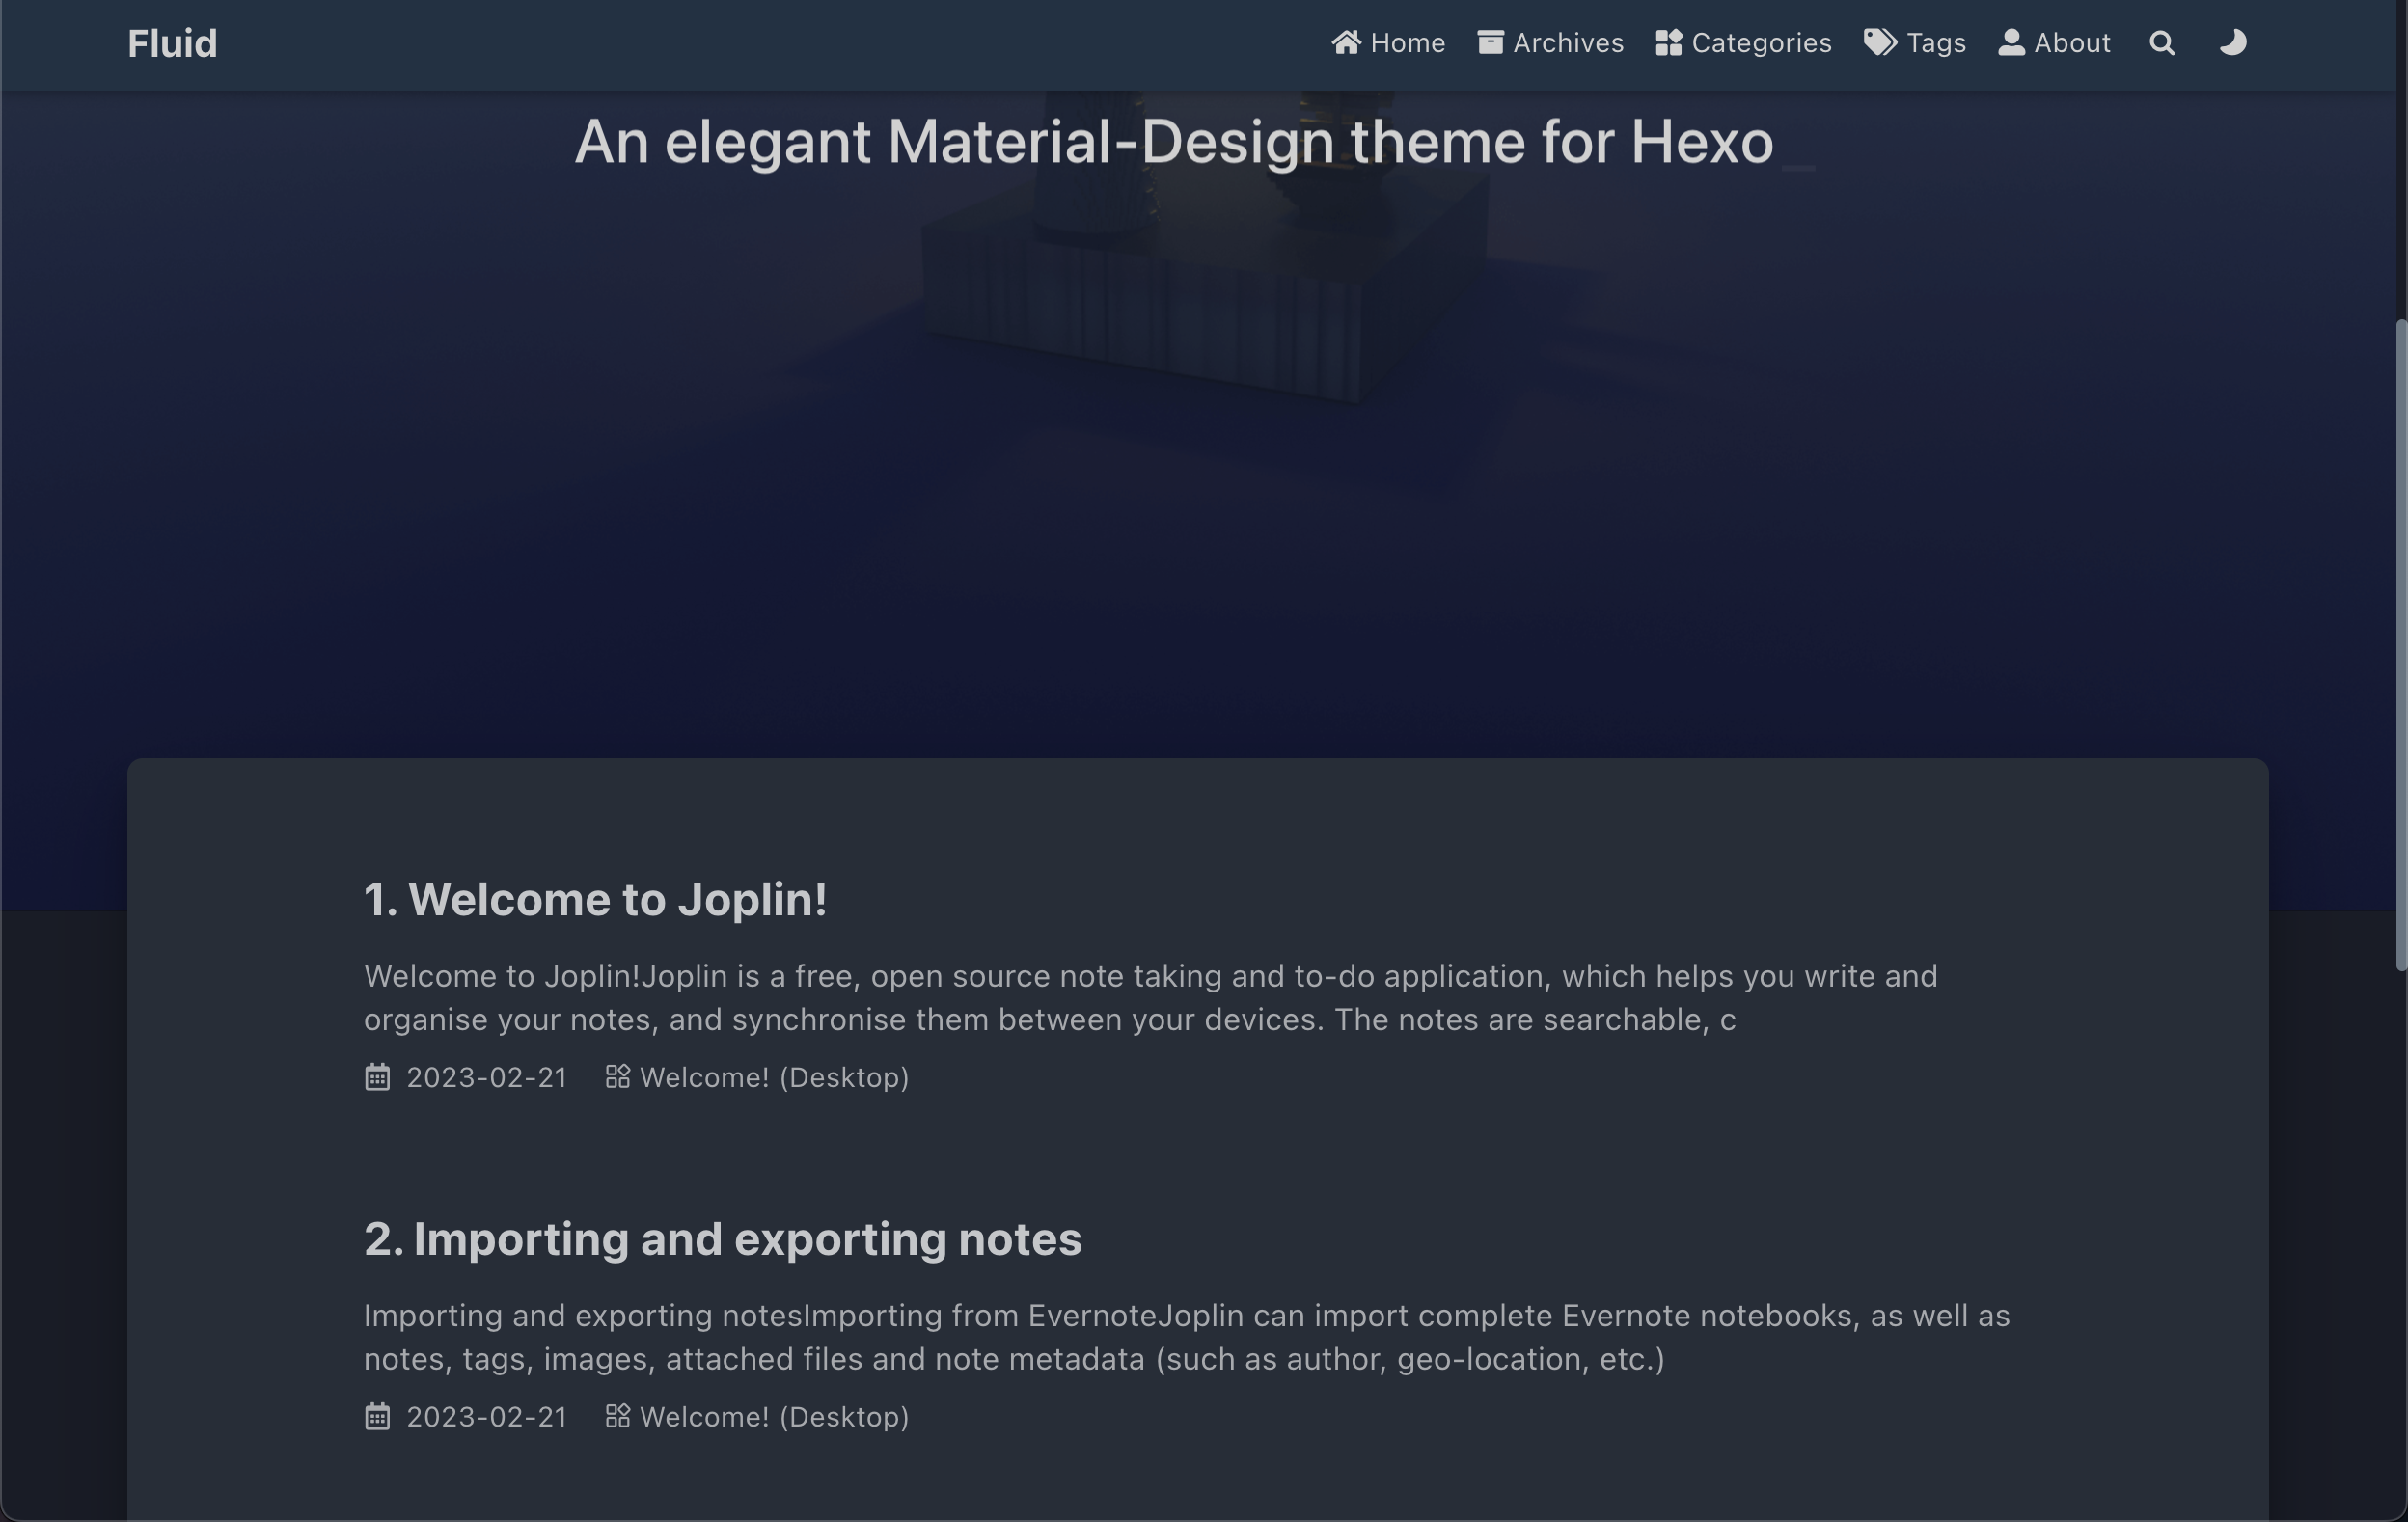
- 现在修改 _config.yml 配置文件中
root的值为你克隆的 github<repo>的名字 - 在 github 的存储库设置中的 Pages 菜单项下,选择 Build and deployment > Source 中的 GitHub Actions。
- 最后运行
npm run commit推送所有要发布的笔记内容。
等待 GitHub Actions 完成,可以在 https://github.com/<username>/<repo>/actions 查看进度。
一切完成后,应该可以看到站点被部署在 https://<username>.github.io/<repo>/ 或 https://<custom-domain>/,具体取决于设置。
示例项目可以在 https://github.com/mark-magic/joplin-hexo-demo 看到。
连接 joplin 到现有的 hexo 博客
安装依赖
npm i -D @mark-magic/cli @mark-magic/plugin-joplin @mark-magic/plugin-hexo添加配置
mark-magic.config.yamlyaml# mark-magic.config.yaml tasks: - name: blog input: name: '@mark-magic/plugin-joplin' # 输入插件,从 joplin 笔记中读取数据 config: baseUrl: 'http://localhost:27583' # joplin web clipper service 的地址,一般是 http://localhost:41184,这里演示使用了开发时的 http://localhost:27583 token: '5bcfa49330788dd68efea27a0a133d2df24df68c3fd78731eaa9914ef34811a34a782233025ed8a651677ec303de6a04e54b57a27d48898ff043fd812d8e0b31' # joplin web clipper service 的 token tag: blog # 根据标签过滤笔记 output: name: '@mark-magic/plugin-hexo' # 输出插件,生成 hexo 需要的文件 config: path: './' # hexo 项目的根目录 base: /joplin-hexo-demo/ # 部署时的 baseUrl,默认部署在域的根路径,应该与 hexo _config.yml 中的 root 配置保持一致修改 hexo 的配置
_config.yml,如果包含yamlpermalink: /p/:abbrlink/从 joplin 读取笔记生成 hexo blog 所需要的文件
shnpx mark-magic # 这会清空 source/_posts 和 source/resources 目录,如果有什么文件请备份
完成后你可以在 source/_posts 和 source/resources 目录看到生成的文件,现在可以继续使用 hexo 构建和发布了。